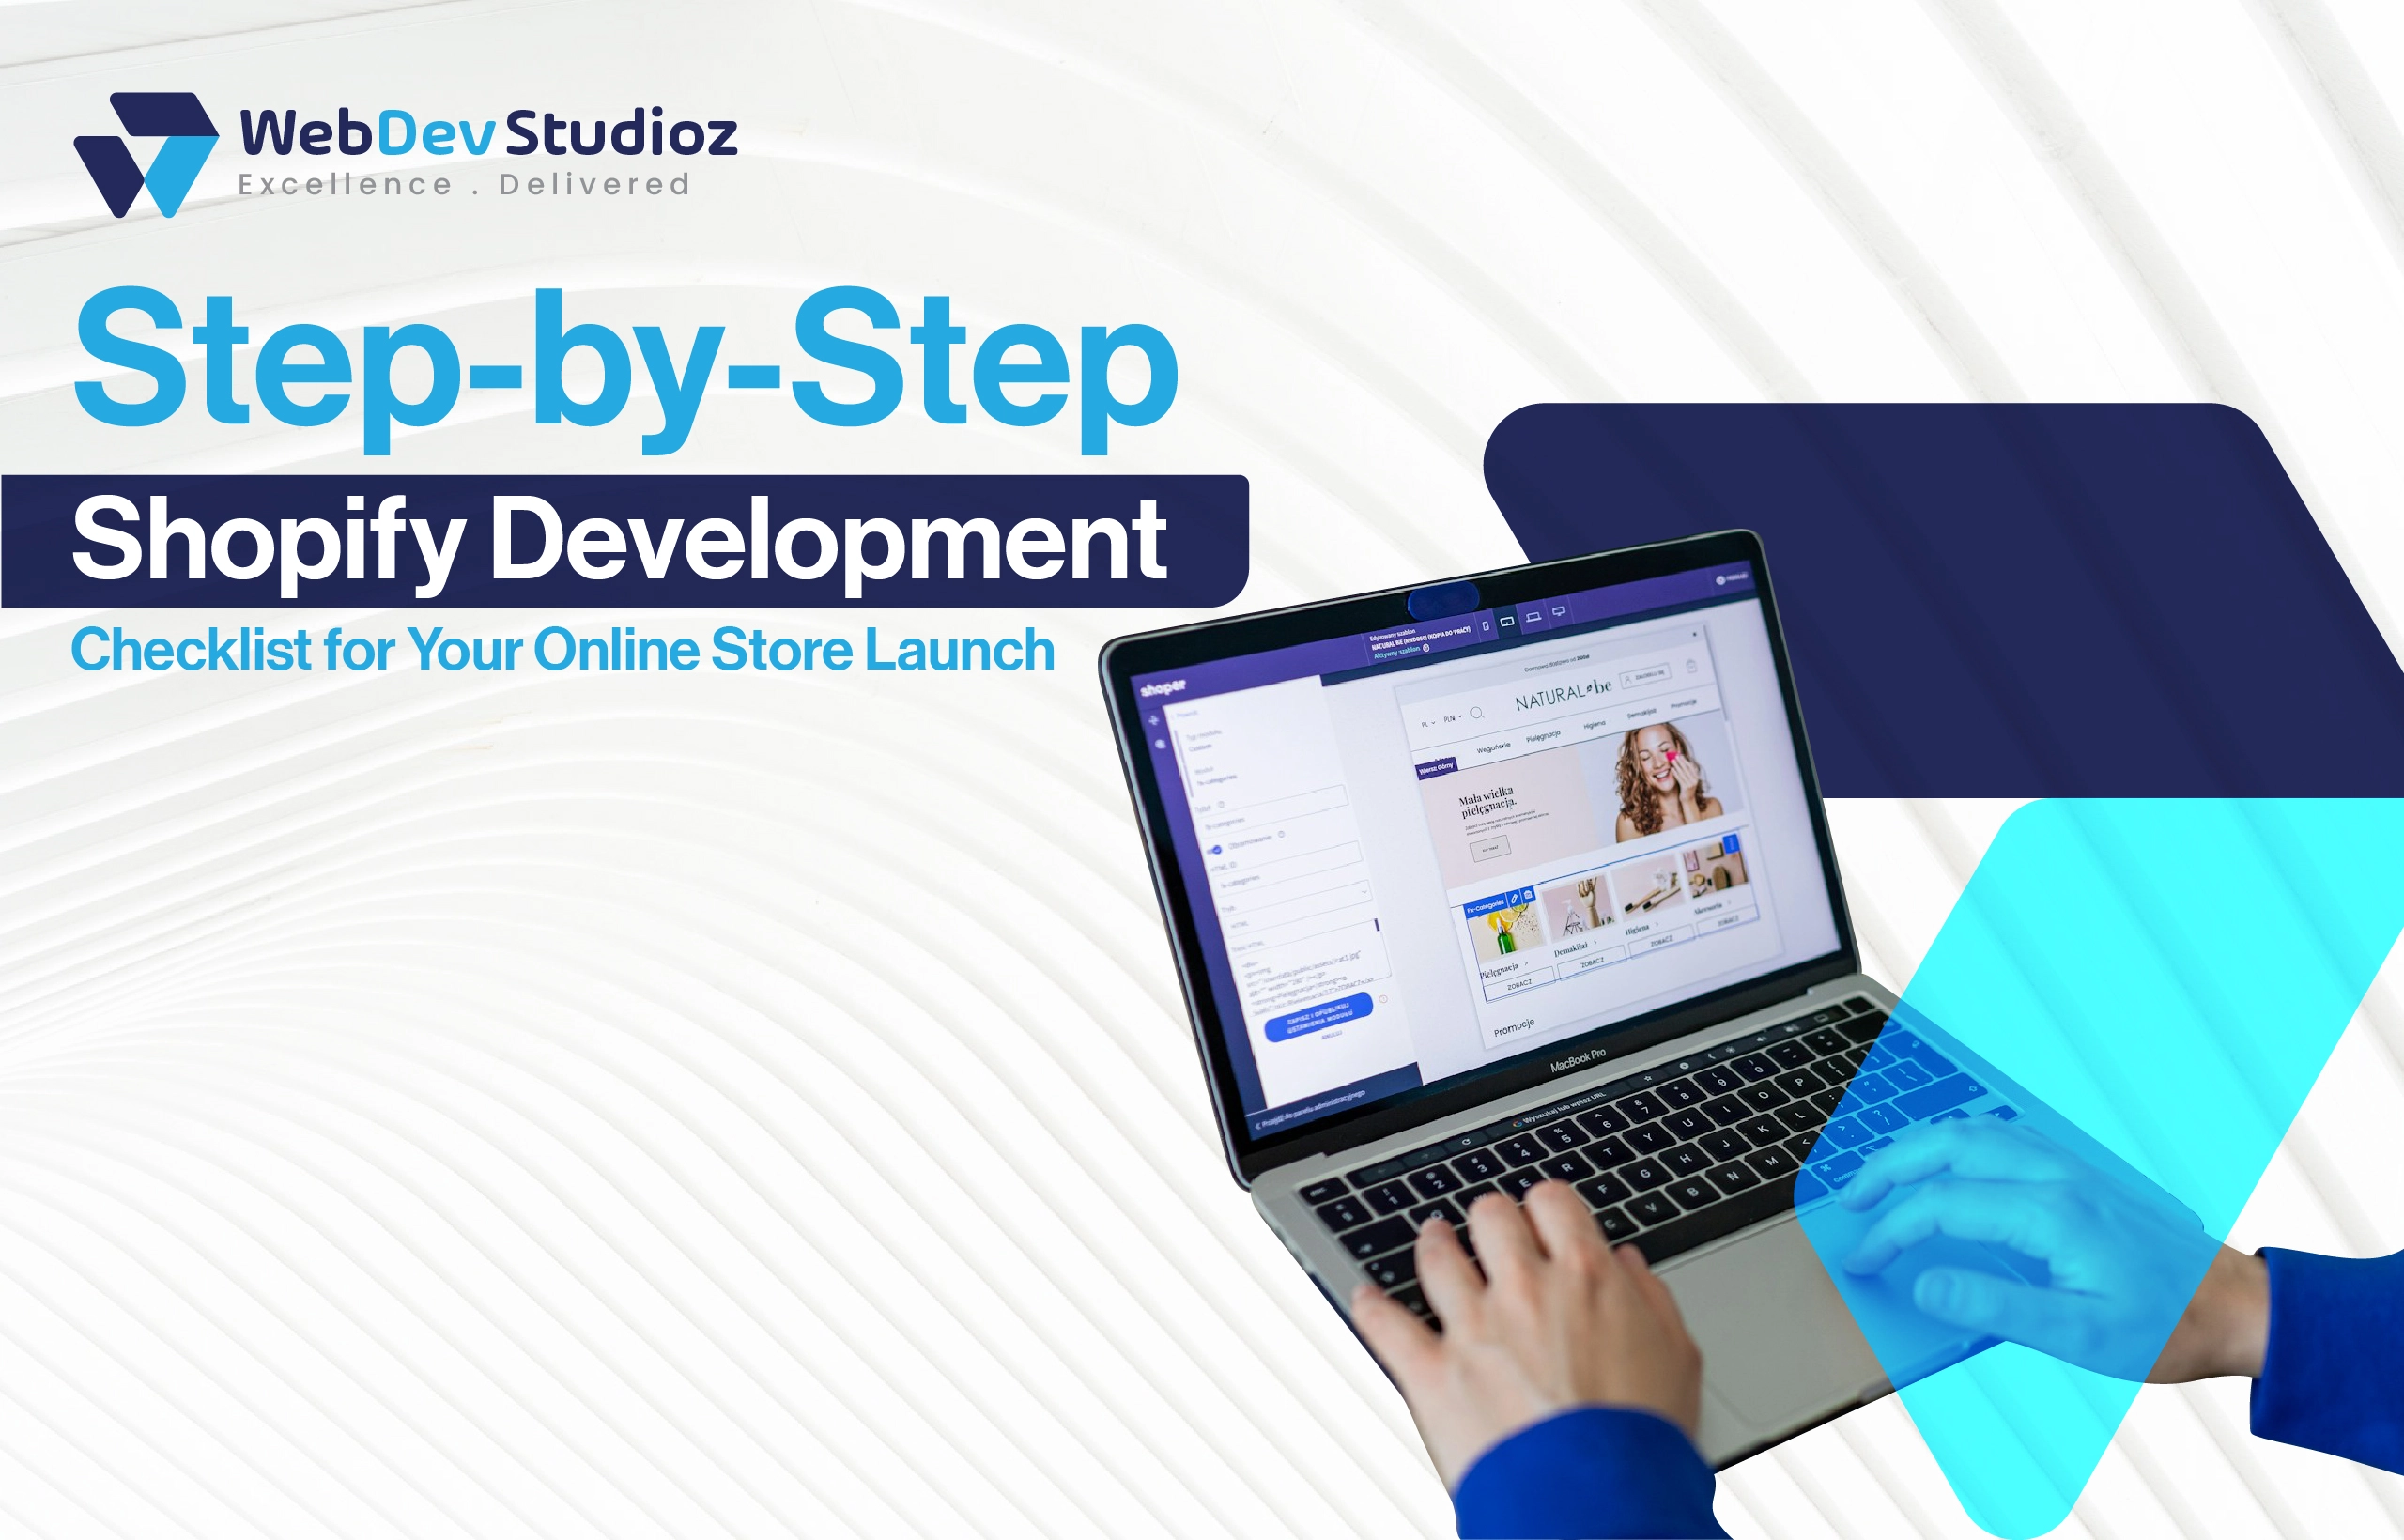
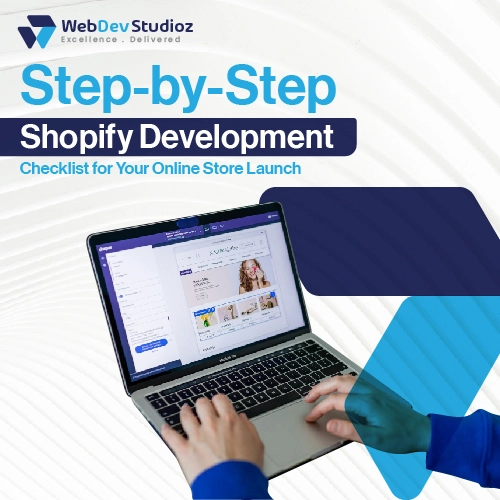
Step-by-Step Shopify Development Checklist for Your Online Store Launch
Launching an online store feels a bit like preparing for a big party. You want everything to look perfect, run smoothly, and leave your guests impressed. But without a well-defined plan, things can quickly get messy. That’s exactly why having a Shopify development checklist is a game-changer. It keeps you organized, on track, and ready to face any curveballs before the big launch.
Whether you’re building your first store or refining an existing one, professional Shopify development services can make the entire launch process faster, smoother, and more effective.
Whether you’re a developer, a small business owner, or managing a project, this Shopify setup guide breaks down every step of your Shopify store’s journey. From setting up your Shopify Admin to monitoring post-launch performance. Let’s dive in.
What’s Included in a Shopify Development Checklist?
A good Shopify development checklist covers all the bases from start to finish. It’s your roadmap to ensure the store is not only built but polished, tested, and ready for customers.
Here’s What We’ll Walk Through
- Initial Shopify Admin setup
- Theme selection and customization using Shopify Theme Editor
- Version control with GitHub integration
- Creating a staging environment for safe testing
- Functional testing (checkout, product pages, forms, responsiveness)
- SEO, speed, and accessibility optimization
- Analytics setup and payment/shipping configuration
- Final QA and backups before launch
- Post-launch monitoring and performance tuning
This approach keeps your development workflow smooth and your launch preparation thorough.
Ready to Launch Smarter, Not Harder?
Let our experts handle your Shopify setup—fast, flawless, and fully optimized.
Step 1:
Setting Up Shopify Admin: Where It All Begins
Before you start designing or coding, get your Shopify Admin in order. This is where you’ll manage products, payments, orders, and more. Think of it as the control room of your store.
Actionable Steps
• Create your Shopify store account and choose the right plan based on your needs
• Update your store settings with your business name, address, and contact information
• Add products, collections, and set up product categories
• Configure payment gateways and shipping settings
• Set up tax rules depending on your location
Pro Tip
Don’t skip exploring the Shopify Admin thoroughly. A well-configured backend saves tons of headaches later.
Step 2:
Theme Selection and Customization Via Shopify Theme Editor

Now, it’s time to dress up your store with a theme. Shopify offers tons of free and paid themes, but you want one that fits your brand and product style.
What to Focus on
• Pick a theme that’s responsive and matches your business vibe
• Adjust your store’s colors, fonts, layouts, and sections through the Shopify Theme Editor
• Add your logo, banners, and featured images
• Customize product pages and the homepage for the best user experience
Quick Checklist
• Check for mobile responsiveness in the Theme Editor preview
• Customize the header and footer for easy navigation
• Set up promotional banners or pop-ups if needed
Pro Tip
Always back up your theme before making big changes. Shopify allows you to duplicate your theme, providing a backup in case something goes wrong.
Step 3:
GitHub Integration and Version Control
If you’re working on custom code or a heavily modified theme, version control is your best friend. Enter GitHub.
Why GitHub?
It tracks changes, allows you to revert mistakes, and lets your team collaborate without chaos.
How to Integrate
• Connect your Shopify theme with a GitHub repository using Shopify’s GitHub integration
• Commit changes regularly with clear messages
• Use branches for testing new features before merging to the main branch
Pro Tip
Commit early and often. This way, you never lose your progress, and it’s easier to track what broke what.
Step 4:
Creating a Staging Environment: Your Safe Playground
Would you test a new recipe on your dinner guests? Of course not. The same goes for your Shopify store.
Why staging?
A staging environment is an exact copy of your live store that lets you try out updates, new apps, and custom code without disturbing your customers.
How to Set It Up
• Set up a staging store with Shopify’s duplication feature or with the help of a third-party app
• Sync your theme and content to the staging environment
• Test checkout flow, product displays, and integrations in staging first
Pro Tip
Never push major changes directly to live. A good staging environment avoids costly mistakes.
Step 5:
Testing Functionality: Making Sure Everything Works
This step is often overlooked, but it’s crucial. Experience your store from a customer’s perspective and test every feature thoroughly.
What to Test
• Checkout process: Add products, apply discounts, and complete purchase
• Product pages: Images, descriptions, pricing, variants
• Forms: Contact us, newsletter signup, customer reviews
• Responsiveness: Test on different devices and browsers
• Load times: Make sure pages load quickly to avoid losing visitors
Testing Checklist
• Verify that payment gateways work with test transactions
• Check shipping options and rates
• Test email notifications for orders and shipping updates
Pro Tip
Use real devices when possible and get fresh eyes to test. Sometimes you miss what you see every day.
Step 6:
SEO, Speed, and Accessibility Checks
Your store might look great and work fine, but if it’s slow or inaccessible, you’ll lose potential customers.
SEO
• Set meta titles and descriptions individually for all pages
• Use descriptive URLs and alt text for images
• Optimize product descriptions with relevant keywords
Speed
• Compress images without losing quality
• Limit the number of apps and scripts running on your store
• Measure your store’s speed using Shopify’s tools or third-party services
Accessibility
• Ensure text contrast is good
• Make navigation keyboard-friendly
• Add alt text for screen readers
Pro Tip
Think of SEO and accessibility as ongoing tasks, not a one-time checklist. Keep improving over time.
Step 7:
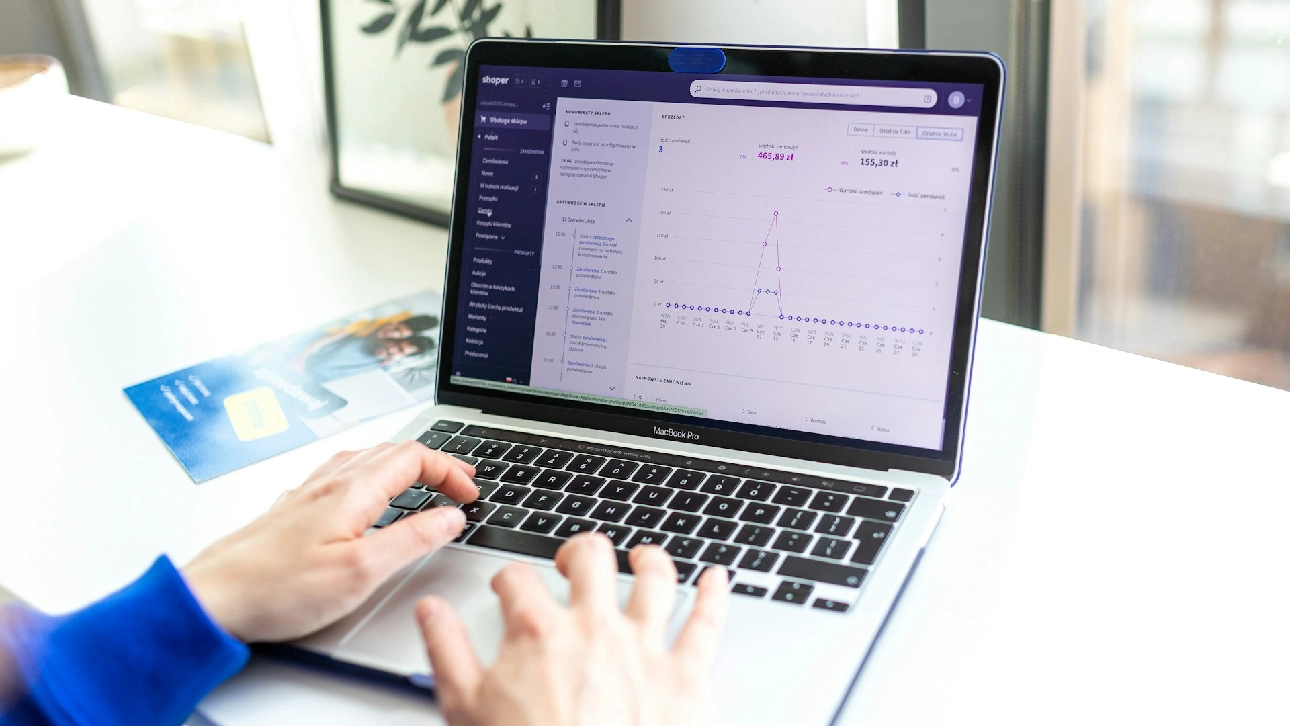
Setting Up Analytics and Payment/Shipping Configurations
How do you know if your store makes sales or visitors like your setup? Analytics.
Key Steps
• Use Google Analytics integration or Shopify’s internal analytics system
• Set up conversion tracking for checkout and goals
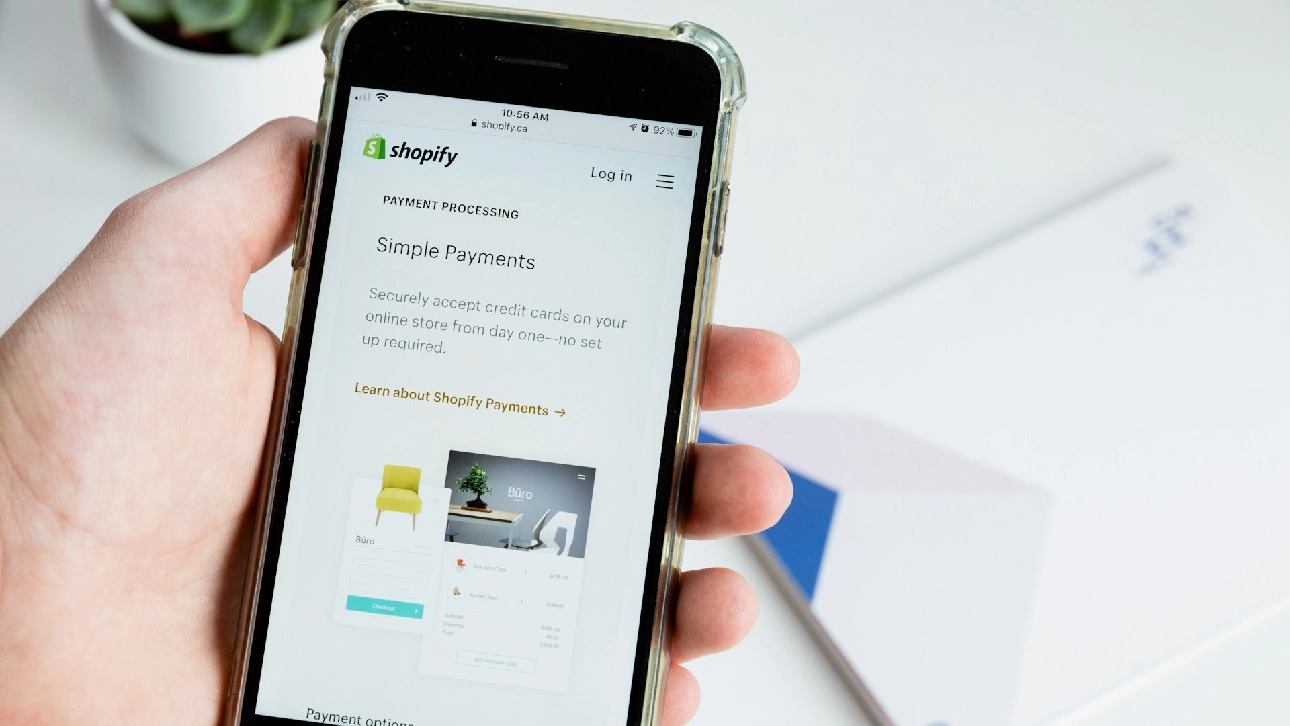
• Configure payment methods thoroughly, including credit cards, PayPal, and local options
• Double-check shipping zones, carriers, and rates
Pro Tip
Set up abandoned cart recovery emails early; they can boost sales significantly.
Step 8:
Pre-launch QA and Backups
Almost there! Before you hit the launch button, run a final quality assurance check.
Pre-Launch Tasks
• Test the entire store flow one last time
• Verify all links and buttons work
• Check spelling, grammar, and pricing accuracy
• Secure your theme and store data by creating backups.
Pro Tip
Have someone unfamiliar with the project do a quick walkthrough. Different perspectives often reveal what goes unnoticed.
Step 9:
Post-launch Performance Monitoring: Stay on Top of Things
Launching is exciting, but don’t simply set it and ignore it.
What to Monitor
• Website uptime and speed
• User behavior and sales via analytics
• Customer feedback and support tickets
• Bug reports or broken links
Ongoing Maintenance
• Regularly update themes and apps
• Run backups weekly
• Keep an eye on SEO rankings and adjust accordingly
Pro Tip
Use tools like Pingdom or Google PageSpeed Insights for continuous performance tracking.
Conclusion
Launching a Shopify store might seem overwhelming, but breaking it down with this Shopify development checklist makes it manageable and even fun. It’s like having a roadmap on a long road trip; you might still hit some bumps, but you won’t get lost.
If you want a smooth, professional, and launch-ready Shopify store without the headache, consider teaming up with experts who know the ropes. Web Dev Studioz can help you skip the stress and get your store live faster with all these steps covered thoroughly. Ready to make your online store shine in the crowded market? Reach out to Web Dev Studioz and let’s get started!
That’s the secret sauce to a well-launched Shopify store. No messy surprises, just a clean, organized path from idea to online success. What’s your next move?
Have any Question in Mind?
Recent Blog Posts


Certified by